
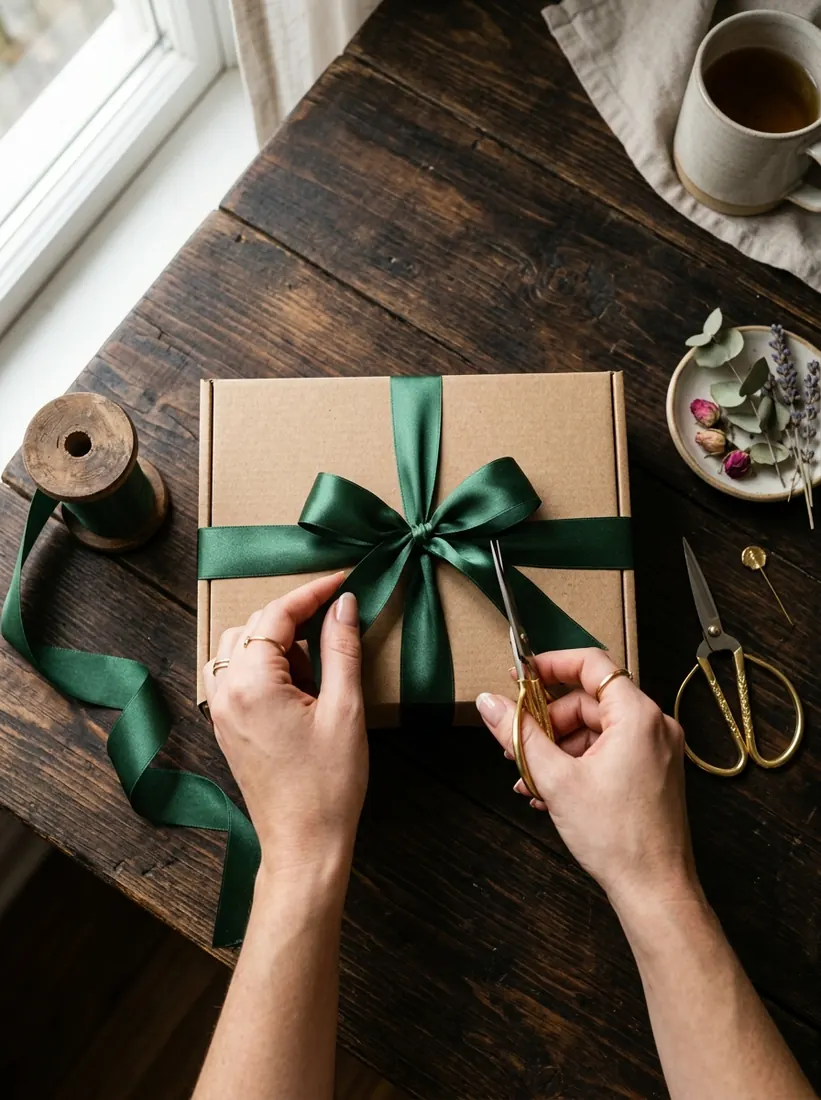
Decorating a baby announcement box at home can be a lovely, personal touch — especially for families who enjoy the process and have time before visitors start arriving. This guide offers honest, practical tips for doing it yourself, along with an equally honest note on when a ready-made box might actually serve you better.
Choosing a Base Box
Start with a plain box in a material that suits your effort level — a plain cardboard box is the easiest to decorate by hand with paint, paper, or fabric, while a clear acrylic box works better if you'd rather style the contents than the box surface itself, since the clear panel already does a lot of the visual work.
Simple Decoration Ideas
- Ribbon and bow — a satin ribbon in the theme color is the fastest way to add a finished look.
- Small paper tags — printed or handwritten with the baby's name and date, tied to the ribbon.
- Dried flowers or small florals — tucked under the ribbon for a softer, more delicate finish.
- Washi tape borders — an easy way to add color and pattern to a plain cardboard surface without painting.
Where DIY Gets Difficult
The hardest part of DIY decoration is usually consistency — getting the same clean finish across multiple boxes if you're sending several out to family. It's also easy to underestimate how much time this takes in the days right after a baby's birth, when most families are focused on rest and visitors rather than craft projects.
When Ordering Ready-Made Makes More Sense
If you need more than 3-4 boxes, or want a consistent, polished look across every box you send out, a ready-made option is usually the more practical choice — particularly in the newborn period when time and energy are limited. Our It's a Boy / It's a Girl Box ideas guide covers ready-made styles if you decide to go this route instead.
Frequently Asked Questions
What ribbon works best for baby boxes?
Satin ribbon in a color matching the theme is the most commonly used option, since it holds a crisp bow shape and photographs well. Wired ribbon is a good alternative if you want the bow to hold its shape longer, especially if the box will travel before being opened.
How do I keep sweets fresh inside the box?
Line the box with a food-safe liner or wax paper before placing sweets inside, and avoid sealing it completely airtight if it will sit for more than a day, since trapped moisture can affect texture. Keep prepared contents in a cool, dry place until close to gifting.