
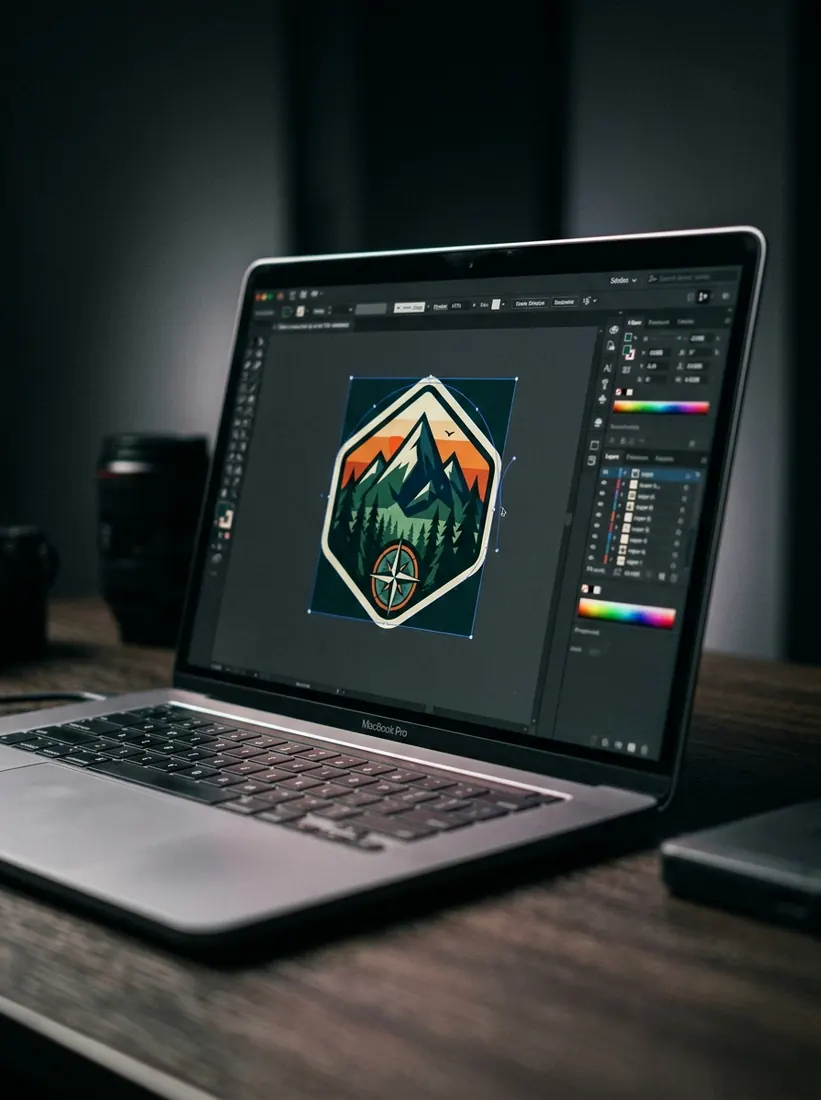
The quality of your final custom sticker depends heavily on the artwork file you start with. Even the best printing and cutting process can't fix a low-resolution or poorly prepared image. Here's how to prepare your design before uploading it for printing.
Use a High-Resolution Original
Always upload the original, high-resolution version of your design rather than a small image saved from a website or social media post. A design that looks sharp on a phone screen can appear blurry or pixelated once it's printed and enlarged onto a sticker sheet — the print size matters more than the screen size.
Transparent or Clean Backgrounds
For die-cut stickers with a custom logo shape, a transparent background (like a PNG file) works best, since the cutting line follows the visible edge of the design. If your image has a solid-color background instead, make sure it's a single, consistent color so it can be removed cleanly before cutting.
Leave Room Around Fine Details
Thin lines, small text, and fine detail can get lost once a design is cut down to a small sticker size. If your artwork has intricate detail, consider ordering a slightly larger sticker size, or simplifying the design so key elements stay legible after cutting.
Quick Pre-Upload Checklist
- Use the original design file, not a compressed or resized copy.
- Use a transparent background for custom-shaped, die-cut stickers.
- Double-check text and fine lines are still readable at your chosen sticker size.
- Preview the sheet layout before confirming quantity and price.